
In this tutorial we will see creating a Spring MVC application using Spring Tool Suite IDE in 2 minutes
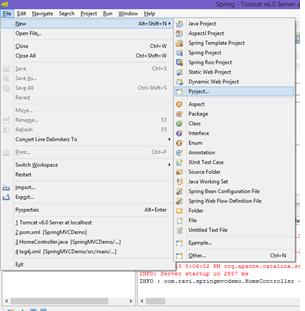
Step 1 : Create new new project by choosing File -> New -> Project
Step 1 : Create new new project by choosing File -> New -> Project
Step 2 : Choose Spring Template Project

Step 3 : Choose Spring MVC Project

Step 4 : Choose a name for the project - SpringMVCDemo

Step 5 : The project structure should look like the one below

Step 6 : Add the project to Tomcat server integrated with STS and start the server


Step 7 : The application should be up and running and you can access the application in the below URL

No comments:
Post a Comment